
Mastering OBS: Your Roadmap from Setup to Go-Live


Now that you have a setup ready for your radio studio, it’s time to bring your vision to life using OBS (Open Broadcaster Software). OBS is a powerful, free software that lets you capture and stream live video content. It is widely supported by a large community, making it a popular choice for beginners and experienced broadcasters.
This software offers a range of features, including the ability to mix multiple audio and video sources, add overlays, and customize scenes to create a professional-looking broadcast. With its user-friendly interface, you can easily switch between different layouts, integrate graphics, and manage your audio levels, giving you complete control over your streaming environment.
Let’s dive into building your visual radio studio using OBS, ensuring you make the most of this incredible tool!
Steps to Set Up Your Visual Radio Studio with OBS:
Step 1: Download and Install OBS
- Visit the OBS website.
- Download the appropriate version for your operating system.
- Install the software following the on-screen instructions.
Step 2: Configure OBS Settings
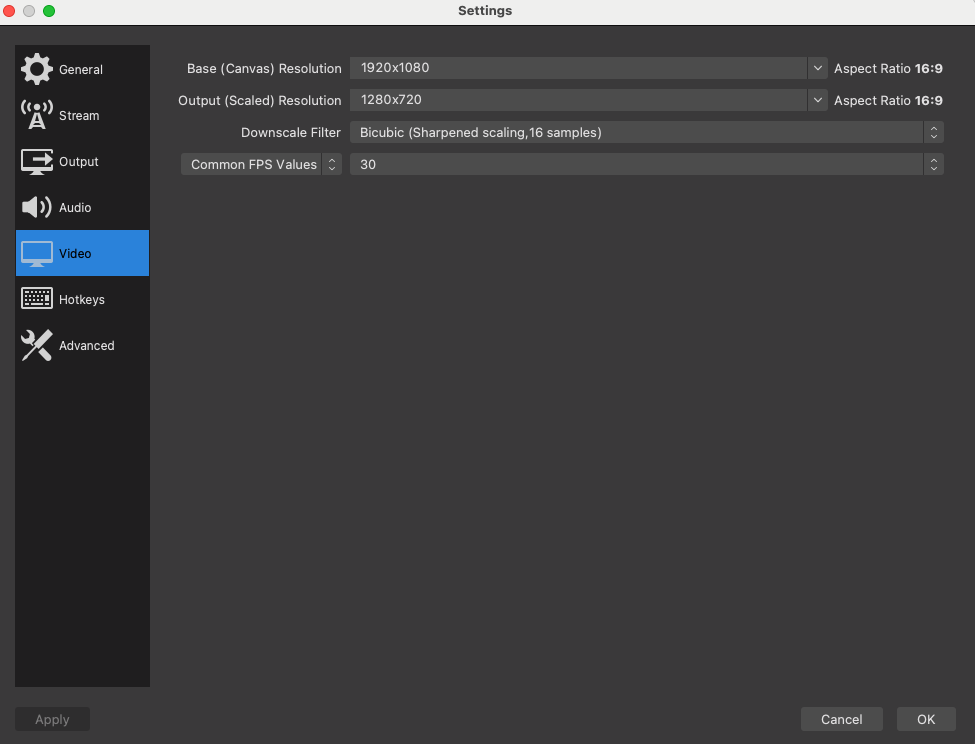
- Open OBS and go to the “Settings” menu.
- Adjust the video settings to match your camera’s resolution and frame rate.
- Set the output settings to ensure optimal streaming quality.

Step 3: Add Video and Audio Sources
- Click the “+” button in the “Sources” box to add your video sources (e.g., webcams, cameras).
- Add your audio sources (e.g., microphones, music files).
- Arrange and resize your sources within the preview window.
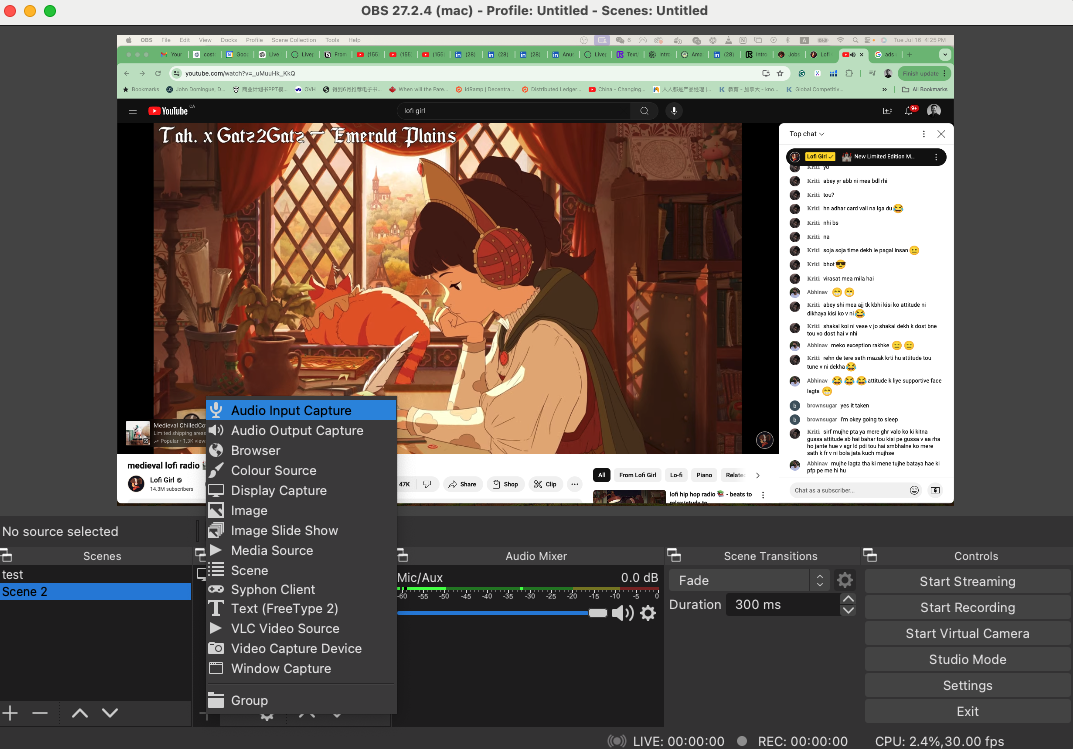
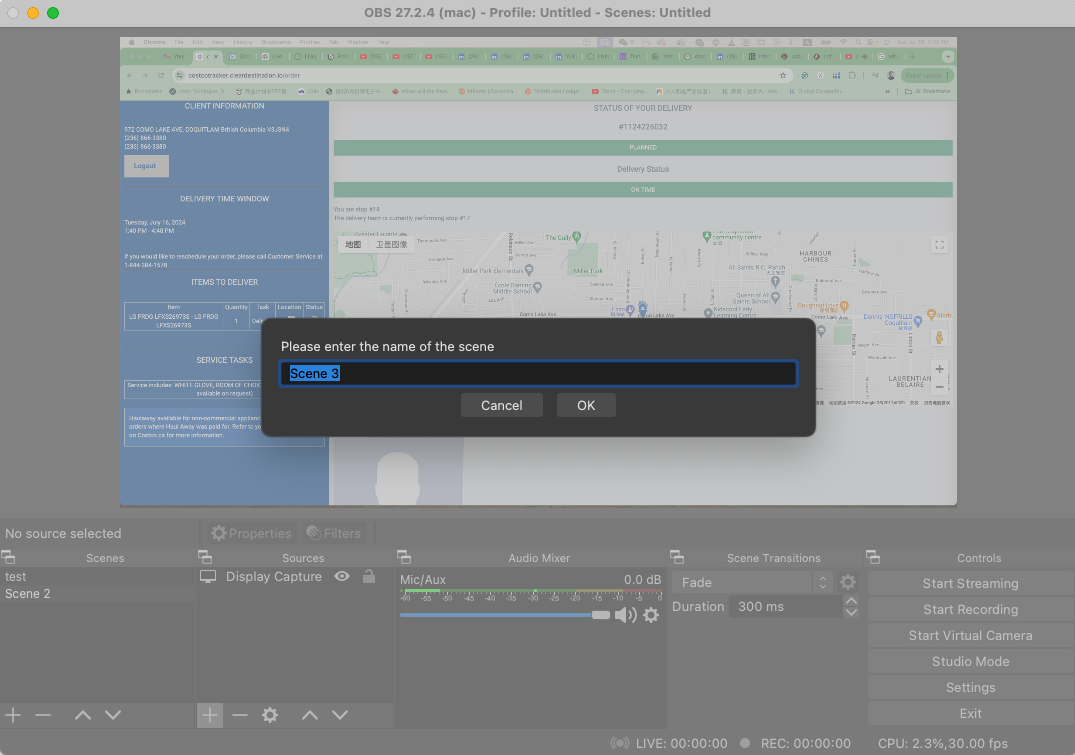
Step 4: Set Up Scenes
- Use scenes to organize different setups (e.g., live talk shows and music sessions).
- Switch between scenes seamlessly during your broadcast.
Step 5: Connect to Your Streaming Platform
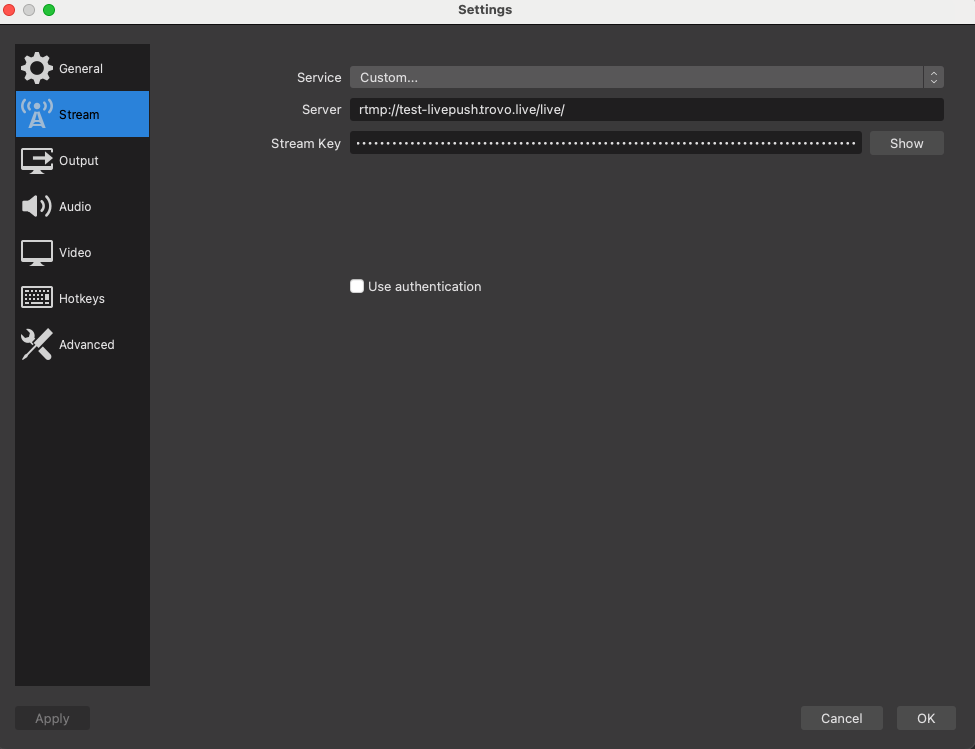
- In the “Settings” menu, go to “Stream” and select your streaming service (e.g., Custom-Livepeer Studio, YouTube, Twitch).
- Enter the stream key found in your account settings on the streaming platform.

Step 6: Start Streaming
- Click “Start Streaming” in OBS to begin broadcasting.
- Monitor the stream health and viewer engagement using OBS and analytics tools.
Conclusion
Congratulations on setting up your visual radio studio with OBS! You're now equipped with the tools to create engaging live streams that resonate with your audience. The next step in your journey is to reach even more viewers around the globe. Join us in our next blog, where we’ll guide you on delivering high-quality content to a global audience using Livepeer Studio. Your broadcasting adventure is just beginning, and we can't wait to see what you'll create!
Complete Blog Series
- Complete Step-by-Step Guide to Adding Video to Your Station
- Get Equipped
- Mastering OBS: Your Roadmap from Setup to Go-Live
- Stream Your Station: Go Live with Livepeer Studio
Additional Resources